Creating & maintaining dynamic notification templates on Fyno using handlebars
Introduction
All businesses aim to scale and grow to new heights. Having to create and maintain multiple notification templates for different channels of communication can be very burdensome for a business, taking up time and effort that can be put to better use within a company. It’s all the more cumbersome when it comes to transactional notifications like payments, OTPs and other updates. Which in most cases breaks at scale.
At Fyno, we’re working towards simplifying notifications and making it easier for product and engineering teams to work collaboratively. To make life easier, we have handlebars support with our templates. Handlebars basically is a templating language, and here are a few prerequisites you need to get started with them.
A valid handlebars template: This consists of regular text along with embedded handlebars syntax, which will host your content in between two curly braces ({ {sample_text} }).
An input object which contains the data that needs to be replaced with the embedded handlebar expressions within your template.
There you go. You now have everything you need to create dynamic notification templates with Fyno.
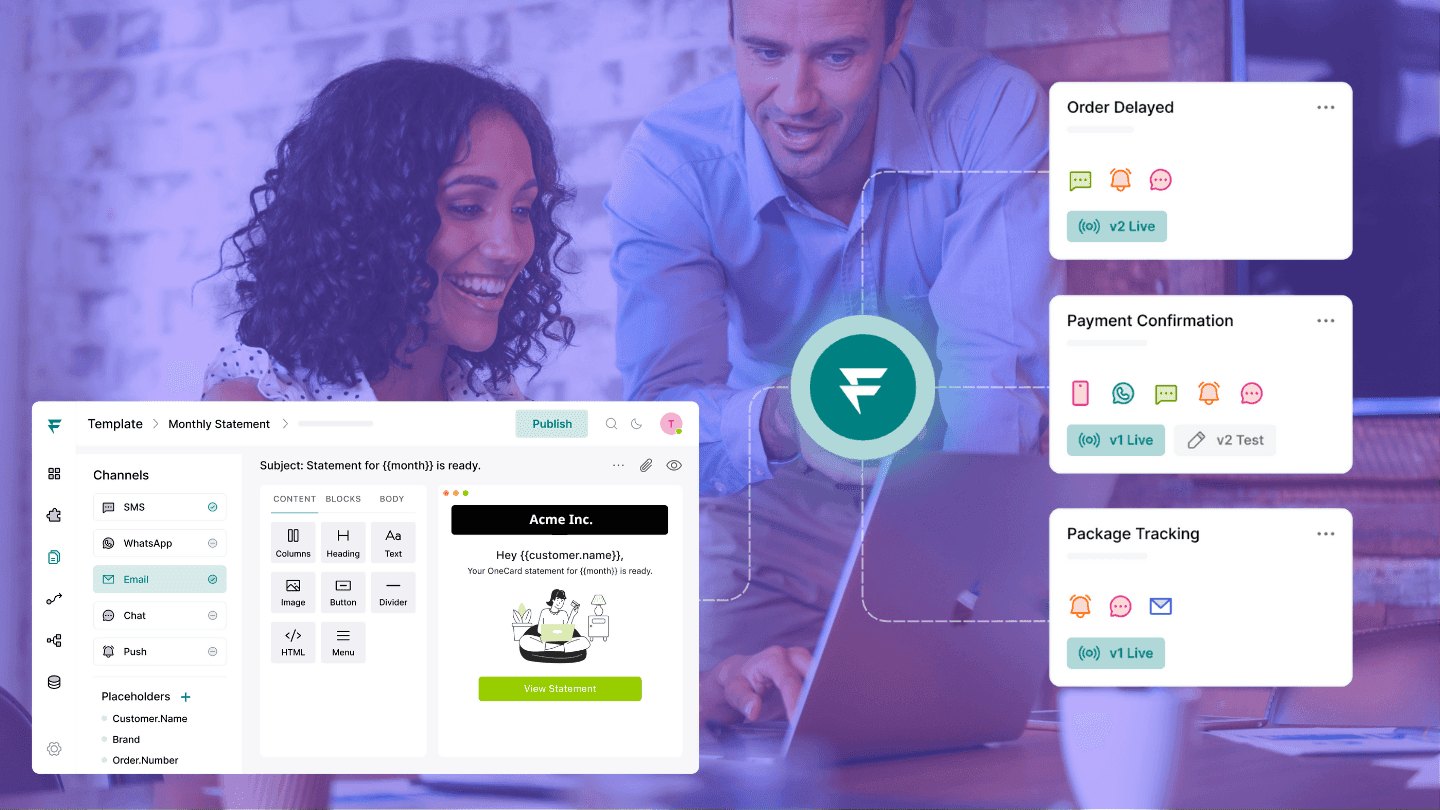
Fyno's Dynamic Template Editor
To get a deeper understanding, do read more about Fyno's template and editor over here.
Fyno binds multiple channels’ templates under one roof so that you can replicate the same template for all the different channels for communication that you have integrated. So maintaining templates for every channel is made easier and in one place, increasing the chances for collaboration and lessening duplication.
Note: this is just an example to show the working of handlebars, and once you get a grasp of it, you can be 100x more creative!
Let’s dive in, shall we? Here’s how you can create a dynamic template for a payment transaction done by a customer. You can kickstart the process by creating a template for SMS, Email and Slack, to notify customers about their transaction status.
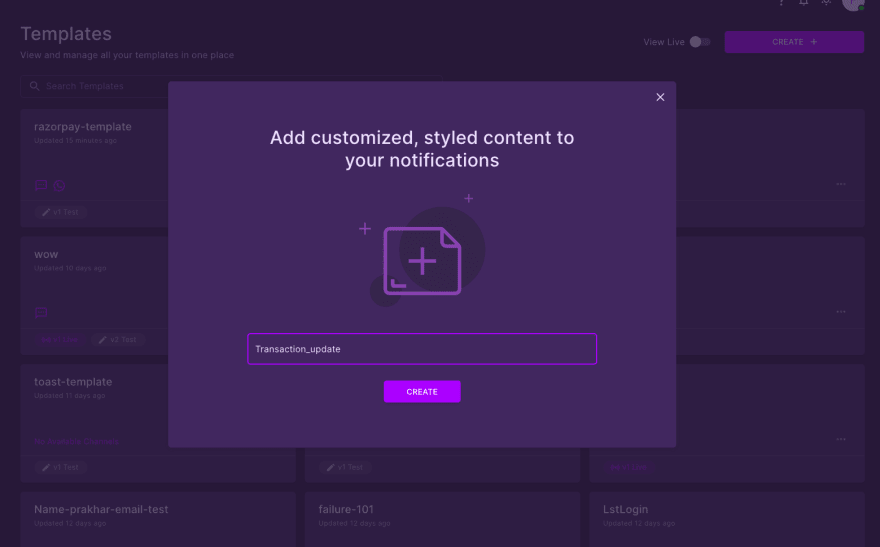
Step 1: Create your template and give it a name, preferably one you can quickly recall making it easy to search. For example: ‘Transaction_update’
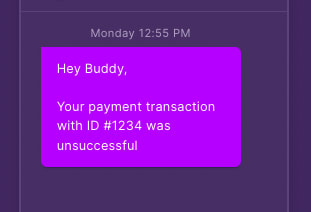
Step 2: Create a valid handlebars template as shown for SMS, Email and Slack. In this template, I have used a conditional statement to check if "name" exists in the data object and render the template accordingly. For example, if the data payload has a name value of "XYZ" then it will render "Hey XYZ," otherwise if it doesn't exist, it will render "Hey Buddy,".
Next, there is a message which renders the transaction ID with the status message, which is again conditional based on the data object values.
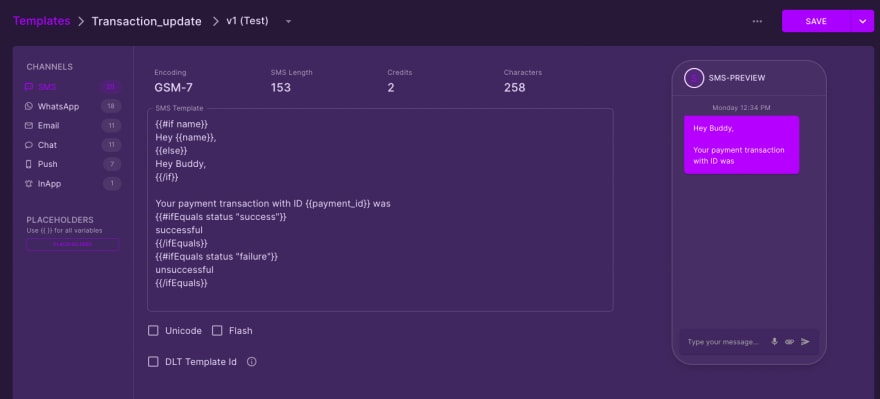
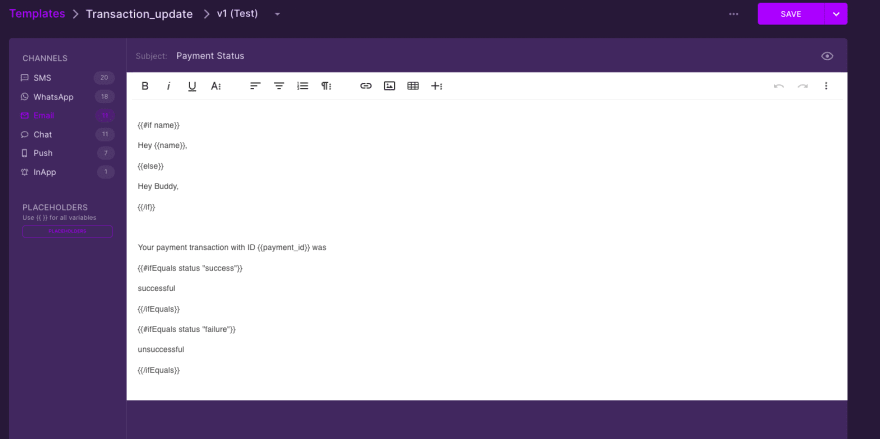
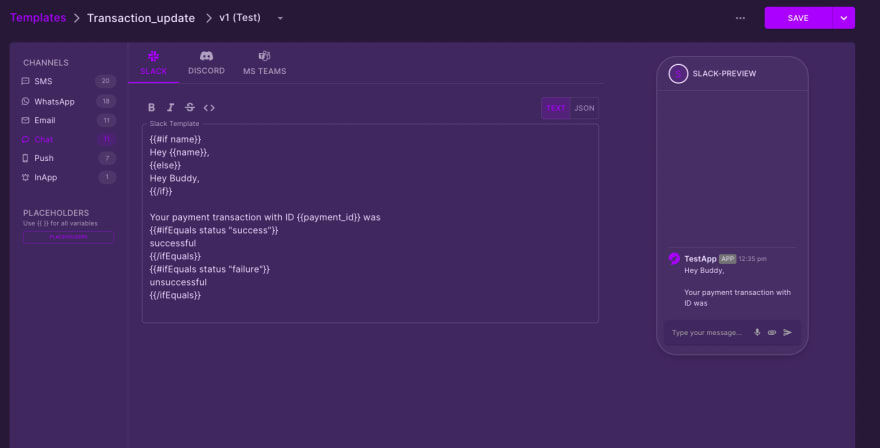
Note: The "IfEquals" handler is a custom handler which is supported by Fyno's template editor. This is not available on the default handlers list for handlebars.
You can observe that the preview shown has blank spaces wherever we have used handlebars expressions. This is because the data object sent is empty and therefore has no values. It's still a valid template.
So let's get to the magical part and fill in our data object!
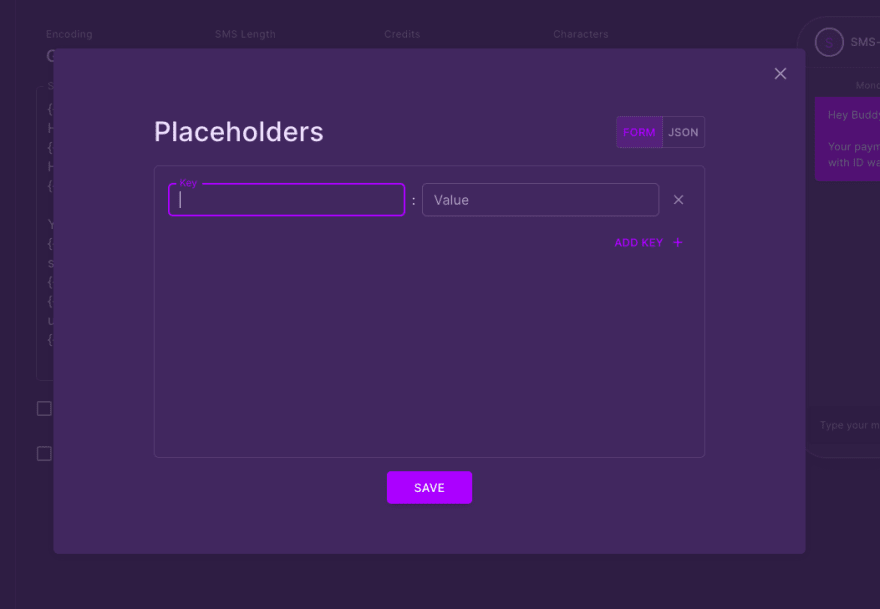
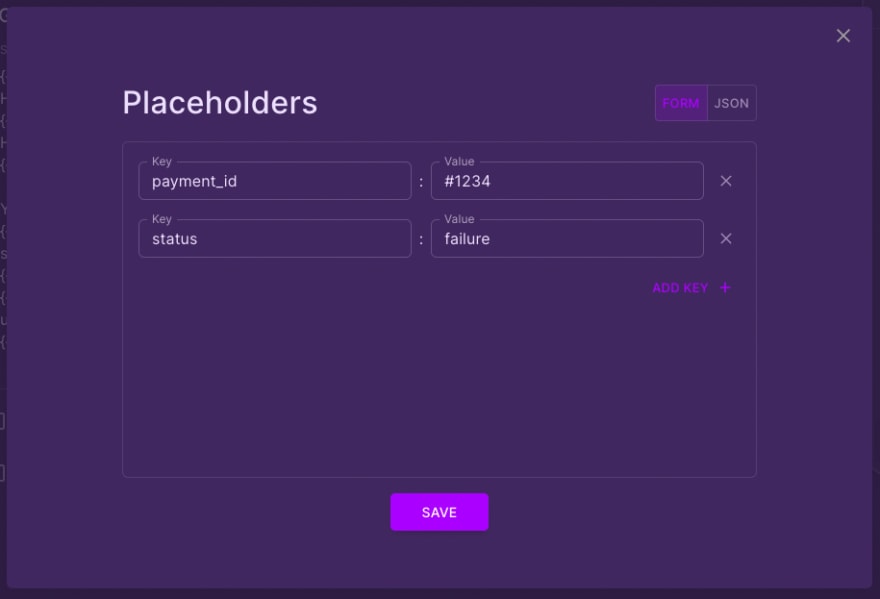
Step 3: Click on the "Placeholders" button to enter the data object. This opens a dialogue to finish filling in the details. In the interest of optimizing for time, we have two straightforward ways of creating the data object:
we can either use a simple key-value pair form
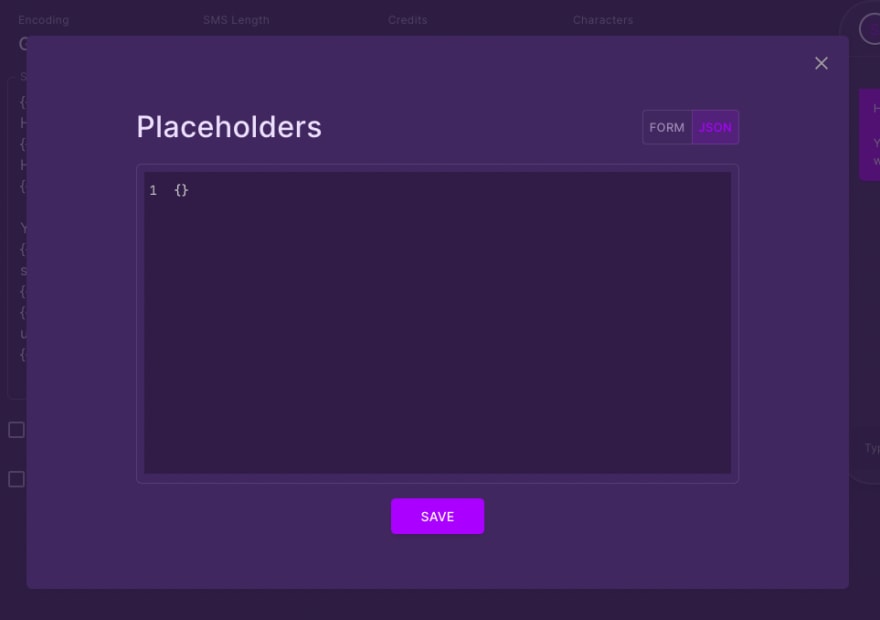
or if you already have a defined data object, you can just paste it/edit it in the JSON/code editor field
Also, take note that you can see the list of keys you can use in your handlebars expressions just under the Placeholders button on the bottom left.
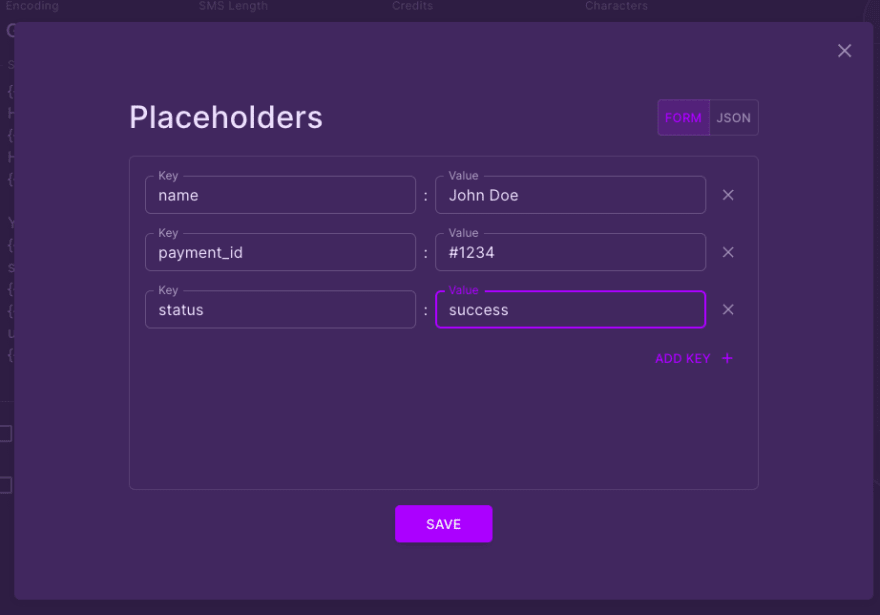
I will be using the key-value pair form to demonstrate this example. Let’s take the template we used earlier for three different handlebar expressions. So we need three values: name, payment_id and status. Let's go ahead and add these values. The following images will show multiple variants of a data object and will also give you a preview of the template accordingly.
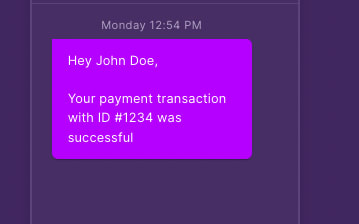
Case 1: With a name as "John Doe", payment_id as "#1234" and status as "success".
Case 2: With no name, payment_id as "#1234" and status as "failure".
Step 4: Once you are happy with the template, hit the save button!
Now all you have to do while triggering the notifications through Fyno is feed the data payload with the notification. Once triggered, your dynamic template is sent to your customers through their preferred channel without any hassle of maintaining multiple templates for different providers/channels on your part.
Conclusion
Clear, timely, and relevant communication can make all the difference in how customers experience your product. As businesses scale, managing notifications across multiple channels and providers can quickly become complex, repetitive, and difficult to maintain. That is exactly why having a dynamic, collaborative template system matters.
As your business grows, this kind of scalable and unified approach becomes essential. We believe notifications should not be a burden on your teams or a fragmented experience for your users. They should be simple to manage, easy to personalize, and powerful enough to support meaningful customer communication at scale.
That’s the direction we’re building toward at Fyno making notifications smarter, simpler, and more collaborative for modern teams.
Easy, right? See you in the next post!