

Anatomy of Fyno Notification, Event, Workflow, and Verification Logs
Logs are a detailed view of what has happened on each of your requests, with vital information for you to further analyse and derive conclusions about the notifications sent, and to further improve your communication strategies.
There are different type of Logs
- Sent Logs - Provides the most granular and in-depth understanding of each notification sent.
- Notification Event Logs - Visually helps you to understand how a notification is sent to a user including Routing (single and omnichannel).
- Workflow Logs - Provides you in-depth step by step understanding of how a Workflow is executed.
- Inbound Logs - Helps you to view all the user responses received from WhatsApp and SMS.
- Callback Logs - Delivery Callback logs helps you track each and every delivery report which Fyno sent it back to your Allowlist URL.
- Verification Logs - Provides a centralized view of verification requests processed by the system.
Data Masking in logs
Logs can include sensitive information, such as destination details, header values, and data payloads. This information isn’t masked unless Data Masking is turned on for your workspace. An Owner or Super Admin can enable it from Workspace Settings > Security and choose a masking type. Once it’s enabled, sensitive values appear as masked text, such as xxxxx, across all log types, while Fyno keeps storing and processing the original values normally.
For more information, including masking types and how to enable or disable masking, see Data Masking.
Who can unmask data
- Owners and Super Admins can unmask data in logs by default.
- Team members with any other role see masked values and need the Unmask Sensitive Data add-on policy to reveal them.
- This add-on policy can be assigned from Workspace Settings > Team, either while inviting a team member or by modifying their access later.
For example, a Campaign Manager can access logs by default but sees sensitive values masked. If they need to unmask data, they should have the Unmask Sensitive Data add-on policy.
For details on roles and assigning this policy, see Unmask Sensitive Data.
Reveal or mask details
When Data Masking is enabled and you have permission to unmask data, you can switch between masked and visible values using the eye icon next to the title of a log page. The same icon appears next to the title in Log Details, so you can also do this while inspecting an individual log.
The icon shows whether details are currently masked. Hover over it to see a tooltip describing what clicking it will do.
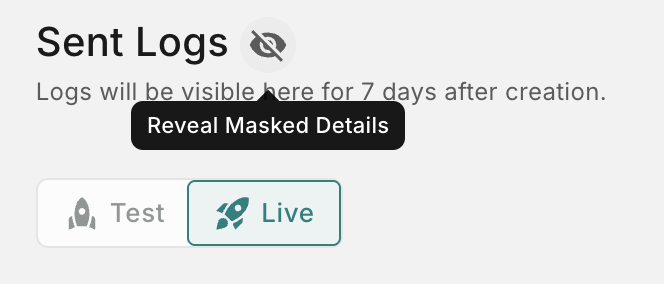
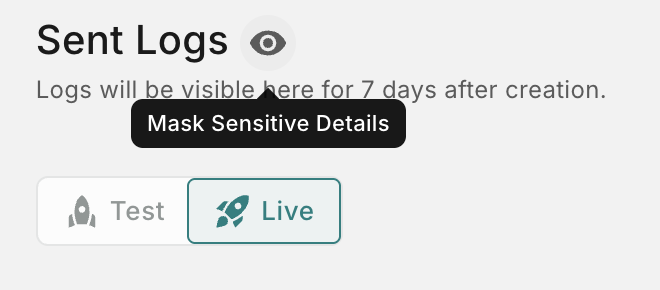
To reveal masked details, click the eye with a line through it. The icon changes to an open eye and the original values are displayed. To mask them again, click the open eye.
Mask details again when you’ve finished reviewing a log, especially before sharing your screen or taking screenshots.